
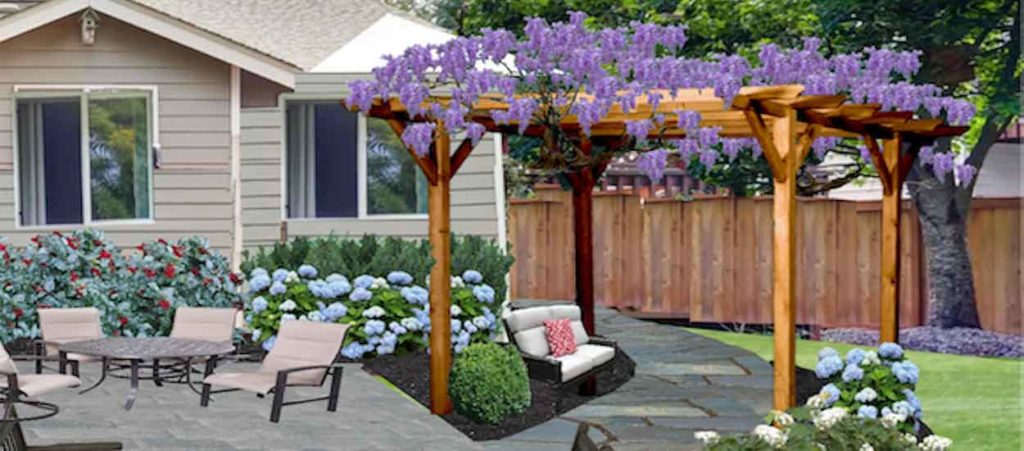
The searing heat of summer may make spending time in your garden unpleasant. A garden arbor is a perfect answer to your predicament. It’s the ideal place to take a break from the sun and admire your garden peacefully.
This article will serve as a detailed tutorial on constructing a garden arbor from scratch. Continue reading before you look for the wooden arbours for gardens.
Choosing The Location
The placement of your garden arbor is critical. It would be best to search for a position that provides some relief from the sun and looks nice. Think about how the sun will hit your garden and how you may best position it.
The perfect location for the arbor would be shaded for most of the day. Place the pavilion on the west side of your garden so it is shaded in the afternoon if it faces east. Shade might be challenging in a big garden, so you may wish to construct many arbors in various spots.
It would be best to choose a convenient spot to get to and offers an unobstructed view of your garden. It would be best to consider whether the arbor will blend in with the current garden design or stand out too much. The pavilion should be an attractive addition to your yard and a seamless continuation of your outdoor room.
Gathering Materials
Gathering the necessary supplies is the first step in constructing your garden arbor. What you’ll need for an arbor’s construction depends on its intended size and design. Garden arbors are often built with wood, screws, and concrete.
These items may be purchased at any home improvement center or lumber yard. The hardware shop employees help you make good material choices if you are uncertain.
The best wood for your arbor would be one that can withstand the elements and last for a long time. The intrinsic resistance to rot and decay in cedar and redwood makes them appealing.
The arbor’s wooden posts and beams can only be combined using screws from the garden arbour seat. Pick screws long enough to provide a solid joint but short enough not to break through the other side of the wood. The wooden posts must be firmly planted in the ground, and this can only be done using a concrete mixture.
Measuring and Cutting the Posts and Beams
Wooden posts and beams must be measured and cut to the correct length. How tall an arbor you build is how big a yard you have. It is up to you, however, 7-8 feet is a reasonable minimum height. The beams, which will run the arbor length, should be sized so people can sit comfortably. If you want enough room for people to sit comfortably, the pavilion should be 4 feet wide.
Maintaining level and stable construction is crucial by cutting all the wood to the home length. The wood may be trimmed to size using a saw. In addition, a level may be used to check the vertical alignment of the posts and beams.
Digging the Holes and Pouring the Concrete
After the posts and beams have been trimmed to size, their holes must be dug. Holes should be roughly a third as deep as the seats are tall. If your posts are 8 feet tall, you must drill about 2.5 to 3 feet deep. Create holes of sufficient depth to serve as a solid foundation for the arbor.
After the holes have been dug, follow the package directions for mixing the concrete. The concrete may be combined in a wheelbarrow or a large mixing tub. Fill the holes with concrete, then set the posts in place. The posts should be straight and plumb, so use a level to check their alignment. The following stage can’t be taken until the concrete has dried and hardened.
Conclusion
The time and effort spent constructing a garden arbor will pay off in spades. You can build a calm haven to escape the hot sun with only a few simple supplies. You may develop your garden arbor by following the instructions above.
It is essential to match the concrete mix you purchase with the soil type in your garden. Different concrete mixes may be needed for specific soil types.