
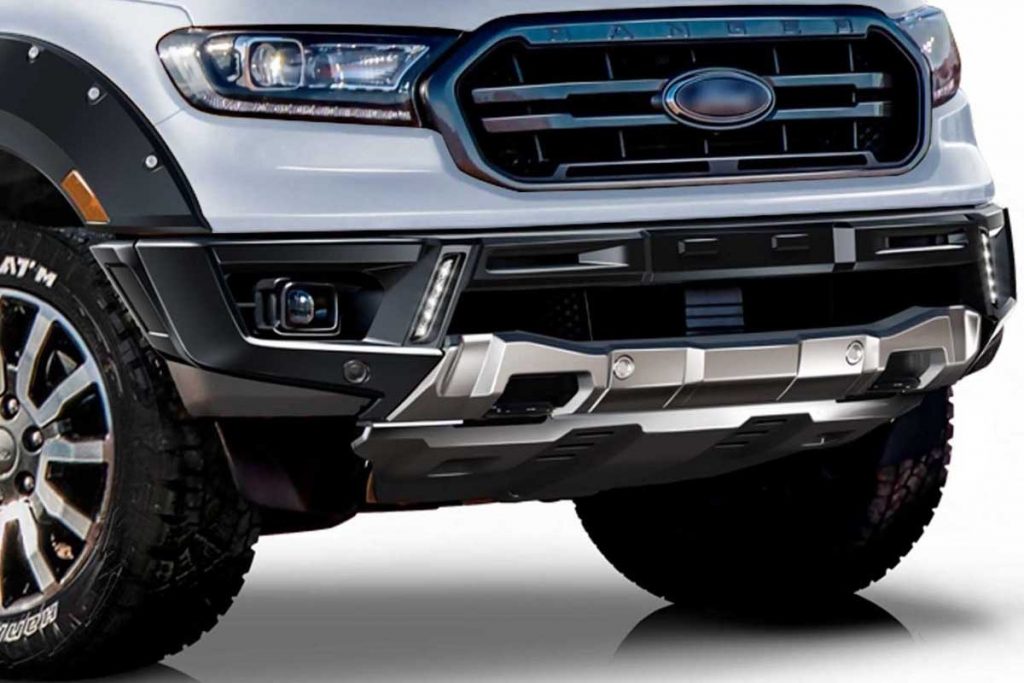
Your car can absorb a lot of damage without the chassis and frame being affected. However, the bodywork cannot absorb the socks as much and is easily dented. When on the road most of the rigors of driving are faced by your car’s front bumper. The front bumper faces all the bumps and bangs on the road saving you a lot of money on panel beaters. But like every bumper to bumper auto parts, there is a limit to how much it can withstand.
Eventually, the wear and tear will catch-up and you would need front bumper replacement. You can get additional car bumper protection like car front bumper cover or guard so that the bumper lasts longer. But if you need bumper replacement then you should not wait and do it immediately. It is fairly a non-mechanical job. It requires little to no expertise and anyone with basic knowledge can do it.
What you would need to complete this job is a spanner set, a ratchet, a socket set, some wire clippers, a Phillips head screw, and a flat-head screw. You will also need some wheel stands to prop up your car so that you can work under it. So the following passages are steps on the front bumper replacement for your car.
No.1
So your first step should be to locate the screws and unbolt the car bumper cover. There usually are two parts to the bumper. The first part is the colored part which many people know as the bumper itself. However, the actual car bumper is the one that’s underneath it. So first you need to remove the upper part to access the bumper underneath. You need to open the bonnet of your car and then start removing the screws that hold the bumper cover in place. You can easily find them above the grille of your car.
No. 2
You now need to unclip the bumper cover. If you look underneath the car cover you will find the plastic clips that hold it in place. You can the flat-head screwdriver to open the clips from their position. You find that there is a clip that attaches the body to the bumper. Take the clippers and cut it. After that, you can simply pry the bumper cover away. Make sure you place it on a towel to prevent further damage.
No. 3
Now you need to prepare for the bumper removal. Prop up the car using the ramp and make sure that it is secured. Then take a board and go underneath the car. You need to locate the bolts on the upper edge of the bumper. So now you need to use the spanner to remove the bolts that you see.
After that locate the tensioning rods that sit on either side of the bumper. Then using a ratchet and socket set start removing the tensioning rods. Remember you will need the bolts so when removing them make sure you keep everything in a safe place for reattachment. Now you can remove the old bumper and get ready for the next step.
No. 4
Align the bumper to the frame of the car and then thread the bolts through. This will keep the bumper in place. Then reattach the bolts simply and fasten them tightly so that none of them are loose. Then reattach the tensioning rods. Now you are ready to move on to reattaching the bumper cover.
No. 5
Bring over the bumper cover or protection. Then simply align and reattach all the clips on the cover and make sure everything is correctly put in. So there you are the steps for bumper replacement. Make sure you follow them perfectly and ensure that everything has been fitted correctly. Once you are done with everything you should take your car out to check for any loose ends that might shake off while driving.