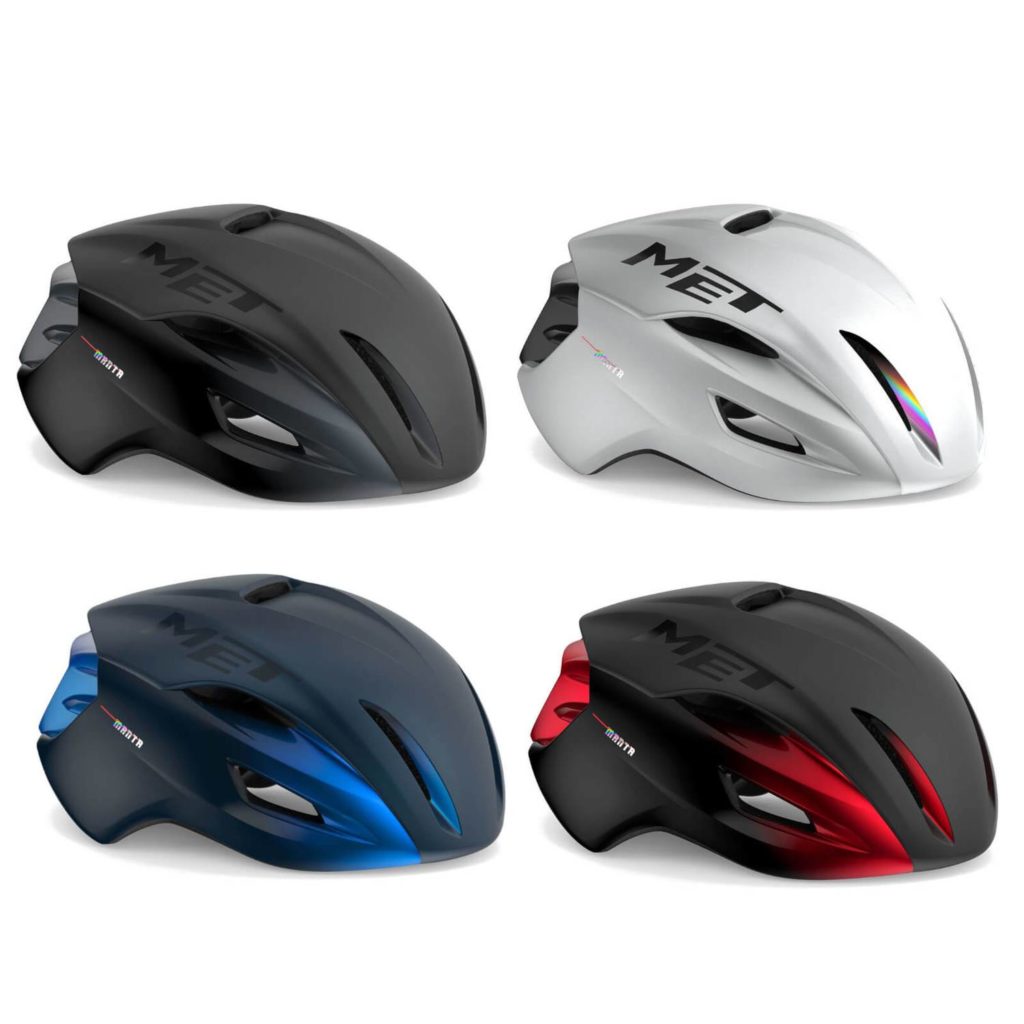
A road bike helmet is one of the most important accessories you can have as a cyclist. It protects your head from injuries in case of a crash, and it also improves your aerodynamics and comfort on the road.
But a road bike helmet is not something you can just buy and forget. It needs proper care and cleaning to keep it in good condition and long-lasting.
In this blog post, we will show you how to keep your road bike helmet clean and long-lasting.
You will learn how to wash, dry, store, and inspect your helmet for any signs of damage or wear. You will also find out when to replace your helmet and where to find the best road bike helmet sale online or in-store.
Why You Should Clean Your Helmet Regularly?
Your helmet is exposed to a lot of dirt, sweat, oil, and bacteria every time you ride. These can accumulate on the surface and inside the helmet, causing unpleasant odors, stains, and even mold or fungus growth.
Not only that but dirt and sweat can also clog the vents and reduce the airflow, making your helmet hotter and less comfortable.
Cleaning your helmet regularly can help prevent these problems and keep your helmet in good condition.
A clean helmet will also look better and smell fresher, which can boost your confidence and mood on the bike.
How Often Should You Clean Your Helmet?
There is no definitive answer to how often you should clean your helmet, as it depends on how often and how long you ride, as well as the weather conditions and the type of terrain you ride on.
However, a general rule of thumb is to clean your helmet at least once a month, or more frequently if you notice any signs of dirt or odor.
You should also clean your helmet after any ride where it gets wet from rain or sweat, as moisture can promote bacterial growth and damage the materials.
Additionally, you should always check your helmet for any cracks or dents before and after each ride, as these can compromise its integrity and safety.
How to Clean Your Helmet Step-by-Step?
Cleaning your helmet is not a difficult or time-consuming task. All you need are some basic tools and materials that you probably already have at home. Here are the steps to follow:
Remove the inner pads
Most helmets have removable inner pads that are attached with Velcro or snaps. These pads are the part that touches your head and absorbs most of the sweat and oil. To clean them, simply pull them off gently and set them aside.
Wash the shell
The shell is the hard outer part of the helmet that protects your head from impact. To wash it, use a soft sponge or cloth dipped in warm water and mild soap or shampoo.
Gently wipe the shell with circular motions, paying attention to the vents and crevices where dirt can accumulate. You can also use a soft-bristled toothbrush or cotton swab to reach the hard-to-clean areas. Rinse the shell with clean water and dry it with a towel.
Wash the inner pads
The inner pads can be washed by hand or in a washing machine, depending on the manufacturer’s instructions.
If you wash them by hand, use cold water and mild soap or shampoo, and squeeze them gently to remove excess water. Do not wring or twist them, as this can damage their shape and elasticity.
If you wash them in a washing machine, use a gentle cycle with cold water and mild detergent, and place them in a mesh bag or pillowcase to protect them from snagging or tearing. Do not use bleach, fabric softener, or dryer sheets, as these can harm the materials.
Wash the straps
The straps are the part that secures the helmet on your head. To wash them, use a soft sponge or cloth dipped in warm water and mild soap or shampoo. Gently scrub the straps along their length, paying attention to the buckles and adjusters where dirt can accumulate. Rinse the straps with clean water and dry them with a towel.
Let everything air dry
After washing all the parts of your helmet, let them air dry completely before reassembling them.
Do not use a hair dryer, heater, or direct sunlight to speed up the drying process, as these can damage the materials or cause them to shrink or warp. Place the parts on a flat surface or hang them on a clothesline in a well-ventilated area away from heat sources.